




Renovations produce waste in bursts. One morning it’s old cabinetry, another broken tiles and a later stage leaves packaging, timber offcuts and fittings strewn around the property. When disposal is something to be solved at the end those materials start to take over access paths, work areas and parking space. A cleaner project begins with planning waste as carefully as deliveries.
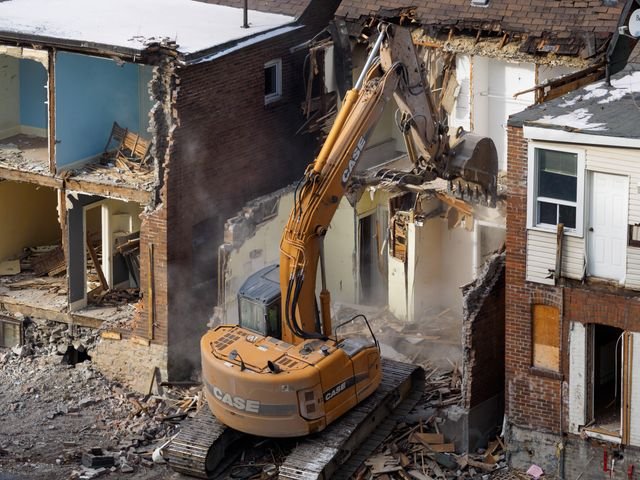
The easiest way to start is to project what each stage will take. Demolition is a different product than painting, landscaping or final fit out. Knowing the rough order of things helps to decide where to collect the waste, how long it is going to be on site and if certain materials need to be kept apart. This turns a chaotic heap of trash into a manageable part of the schedule.
Match Container to the Stage
If you choose the container based on the phase of work rather than the overall size of the renovation, managing skip hire is much easier. A bathroom strip-out produces a lot of dense material in a short time, while a later joinery stage may create bulky but lighter offcuts. Capacity appropriate to the type and timing of waste removes the temptation to overfill, mix unsuitable material or retain a container longer than necessary.
Size is one thing but placement is equally important. A convenient position should not block trades that still need to get into the property. Consider driveways, access to garages, delivery vehicles, scaffolding, neighbours and the path workers will likely take when removing debris. If the alternative is creating a bottleneck each time materials arrive, a couple of extra meters of walking may be worth it.
Keep The Worksite Rolling
Good waste organization is more than a good looking visual. Clear paths make it easier to move tools and materials, reduce trip hazards and prevent finished surfaces from being damaged by debris left in the wrong place. It also allows trades to see what is completed and what’s left. Even an organised renovation can seem chaotic when you’ve got a room of offcuts and packaging.
Invent simple rules for the site. Determine where reusable items belong, where recyclable materials belong and which waste should go into the main disposal stream. If more than one contractor is working, make it obvious, don’t expect everyone to ask. Consistency prevents the bin from becoming a random collection of things that should have been treated differently.
Prepare the Final Clean Before the Last Day
Renovations often leave behind surprising amounts of small waste: protective film, cardboard, broken packaging, damaged trim, empty containers and scraps from last minute adjustments. Leaving it all to the final afternoon can delay cleaning, photography or handover. A disposal check scheduled prior to the final stage allows time for removal of accumulated material while still accessible.
A good renovation isn’t just about the finished room. Also the efficiency of the operation while the work is in progress has an effect on it. When there is a place for waste, a suitable container for it and a planned routine for its removal, the site is much more manageable and the eventual clean-up much less dramatic. Disposal then helps the project instead of being another problem to solve at the end.